You can use any saw with fine teeth for cutting the fret slots. The
slots will be filled with veneer strips later, so make sure to have
veneer that fits tightly into the slots cut with the saw. Also note
that the thickness of a saw blade is usually smaller than its width
of cut. This is because most saws have set teeth, which means that
they are slightly bent to the left or right. If your saw has a
width of cut of 1mm, use veneer of 1mm thickness. Because I wanted
quite narrow fret position markers, I used a saw with a width of
cut of 0.024" (0.6mm). I can recommend veneer 1/32" to
1/16" (1mm to 2mm) thick as it is much more stable. Cut the
fret slots to a depth of about 1/16" (2mm).
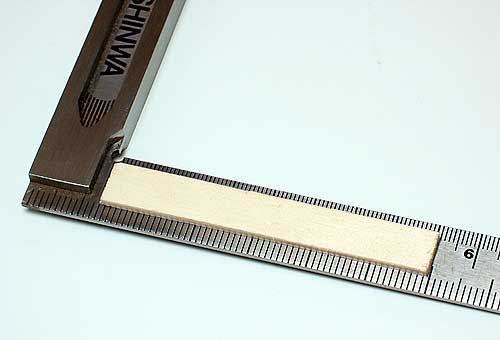
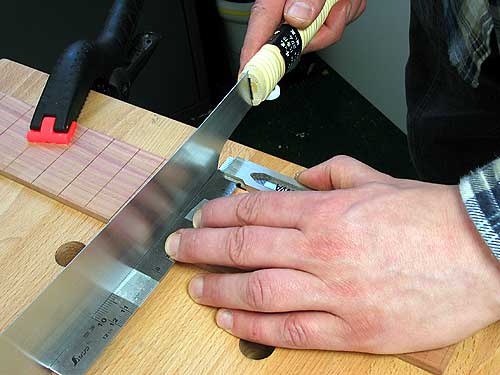
I attached a strip of wood to the underside of the square to ensure
that the square would touch the blade above the teeth of the saw.
This is more accurate and prevents the teeth from rubbing against
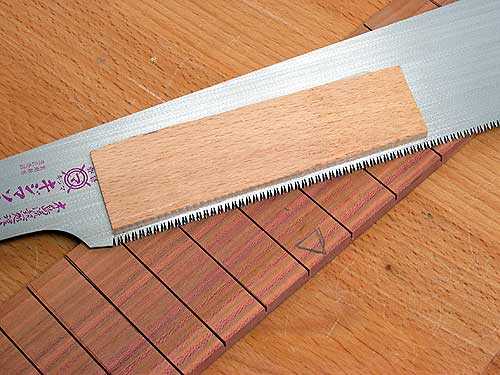
steel and thus dulling. When all the fret slots have been cut, they
are deepened to a uniform depth of 1/8" (3mm). Attach a strip
of wood to one side of the blade using doublefaced tape
(Haven't I mentioned yet that I love doublefaced
tape?). The strip is attached parallel to the cutting edge and at a
distance of 1/8" (3mm) from the tips of the saw teeth. This
simple depth stop ensures equal slot depth. Finally, cut through
the fretboard at the zerofret and the 25th fret.