![]()
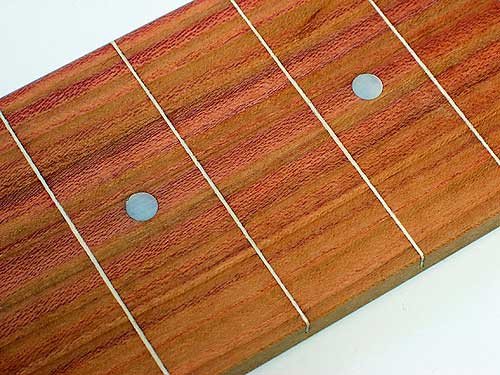
Orientation on the fretboard is made easier if you mark certain
positions on it. Traditionally there are single dots before the
3rd, 5th, 7th and 9th fret and two dots before the 12th fret. This
pattern is repeated after the 12th fret, i.e. there are single dots
before the 15th, 17th, 19th and 21st fret and two dots before the
24th fret.
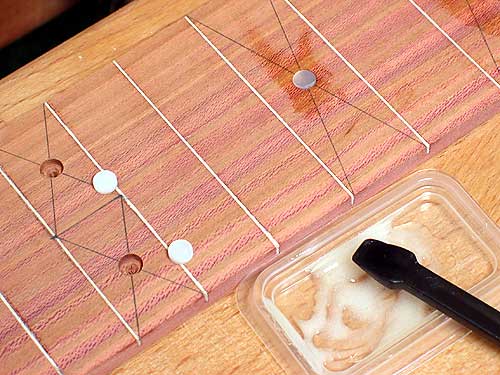
The picture above (left) shows two lines drawn diagonally across
one of the fret fields. I tried this method of finding the centers
but would not recommend it as this way you will hardly end up with
all the dots in line. Better mark a center line along the fretboard
and find the centers between two frets by scribing one line
diagonally across the fret fields.
The bit you use for drilling the cavities and the dot markers have
to be of the same diameter (in my case 5mm). Since it is easier to
sand the small dots flush than the entire fretboard surface, let
the dots protrude a little when gluing them in. I used
1/16"(1.5mm)-thick dots, so I drilled to a depth of
0.050" (1.3mm). I did the drilling by hand, frequently
checking the depth with a caliper. It wasn't difficult to get
the depth of the cavities right. You have much more control over
things when drilling by hand instead of using a handheld power
drill. For gluing in the dots combine two equal amounts of epoxy
hardener and binder; use a type with an open time of several hours.
Put a small amount into a cavity and press the dot in with the help
of a dowel stick and a small hammer. Tap on the stick only very
gently to not break the fragile inlay dots. Wipe off any excess
glue with a damp rag and leave the epoxy to harden for at least 12
hours before flush-sanding the dots with 120-grit sandpaper.